
The next stage is painting the river itself. I want to build a typical large European river (like the Maas or the Rhine), which are more often grey/green/brownish in colour than blue. I remember staying near the Rhine at St. Goarshausen a few times as a kid on holiday with my parents and wanted to use the color of the river there as a reference. So, a quick Google later, I came up with this picture, graciously snarfed off of someone's holiday pictures:

Greenish, brownish tints were called for. I already had a pot of light brown paint used in previous terrain projects (the actual color is Histor 6376 which for some reason is called Survival but is actually brown) but for the greenish tints I went down to the hardware store and picked up two tester pots of a dark and a light green (Dulux Forest and Olive green, if you're interested). To paint the river, I dabbed thick spots of the dark and light green onto the river surface:
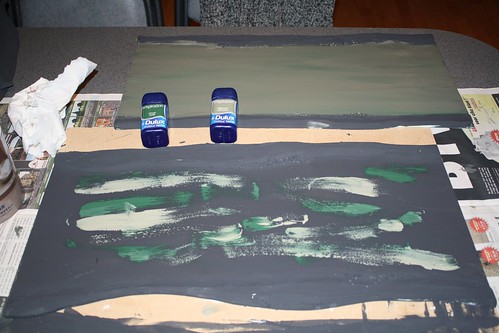
The light green is actually almost a light grey as you can see. While these spots or swatches were still wet, I painted over them with the light brown that had been mixed with some of the dark green, so that the green spots still show up as streaks in the finished river. This gives a pleasing, somewhat realistic tone in just a few minutes' work (the six pieces took me just over 10 minutes):
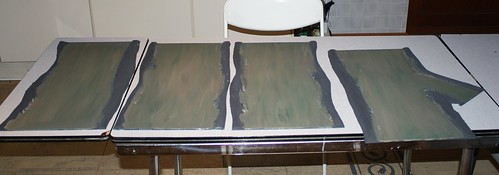
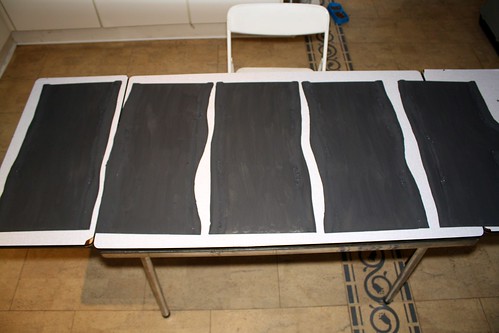
That finishes the painting of the river itself. Next are the banks and stones, and then a gloss varnish layer over the river bed that will finish the boards.
No comments:
Post a Comment